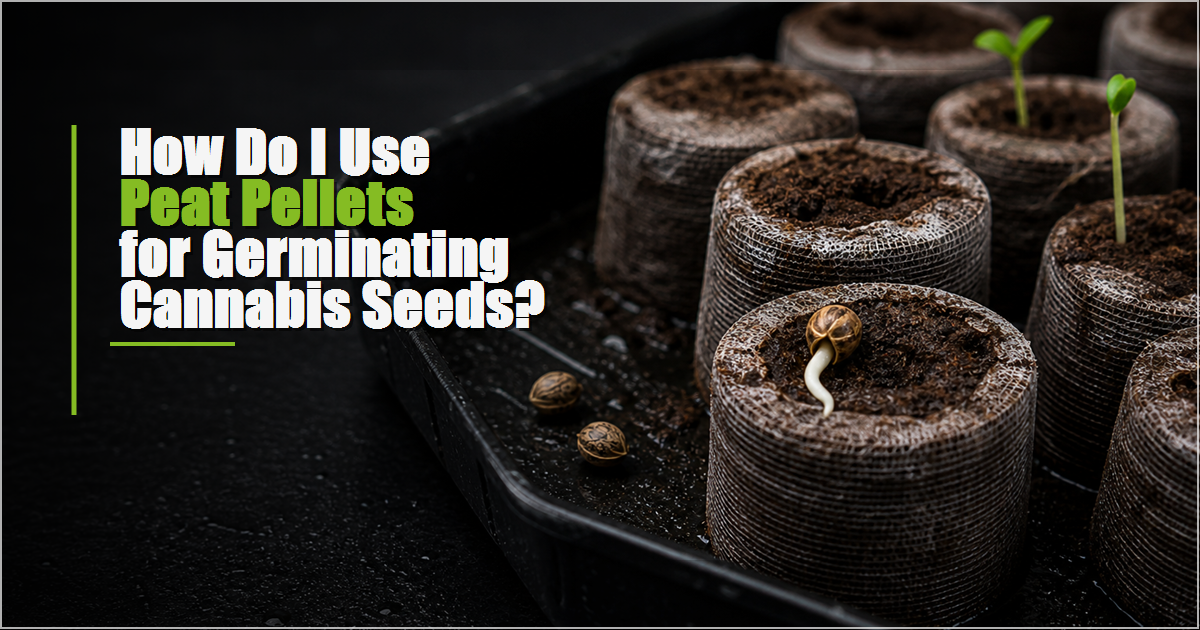
To use peat pellets for germinating cannabis seeds, hydrate each pellet fully, let excess water drain, place one seed in a shallow hole, and keep the pellet evenly damp until the seedling emerges. The main advantage is less handling: the seed, taproot, and starter medium move into the next container together.
When Peat Pellets Make Sense
Peat pellets are useful when you want a compact, labeled starter system and would rather not move an exposed taproot from a paper towel. They’re especially forgiving for a small batch of seeds, but they still depend on the same moisture, warmth, oxygen, and cleanliness described in the basic cannabis seed germination guide.
How to Prepare and Plant the Pellet
- Hydrate it completely. Soak the compressed pellet until it expands and no hard center remains.
- Drain excess water. The pellet should feel evenly damp, not saturated or surrounded by standing water.
- Make a shallow opening. Use the existing opening or make a small hole near the center.
- Place the seed gently. Cover it lightly without packing the peat down.
- Label the pellet. Record the cultivar or seed lot and the planting date before several pellets look identical.
Leave the wrapper or netting in place unless the product’s instructions say otherwise. Its job is to keep the pellet together while roots develop.
Keep Moisture Balanced
A pellet can dry faster than a larger pot, but repeatedly soaking it removes air from the root zone. Check it at least daily and add a small amount of water only when it is beginning to lose moisture. If water collects beneath the pellet, drain the tray.
A humidity dome may slow drying, but it shouldn’t remain sealed while condensation builds and air becomes stagnant. If you see suspicious growth, the guide to avoiding mold during germination explains how to distinguish contamination from normal root hairs and correct the environment.
Provide Warmth, Then Light
Keep the pellet in a moderately warm, stable place while the seed germinates. Once the shoot begins emerging, provide appropriate gentle light so the seedling can open and grow without stretching. Don’t dig into the pellet to check the seed; stable conditions and patience are more useful than repeated handling.
When to Transplant
Move the pellet when the seedling is established and roots are beginning to show through the sides or bottom. Place the whole pellet into the next container, keep the seedling at roughly the same depth, and gently settle the surrounding medium. Don’t wait until exposed roots are circling, drying, or packed tightly around the plug.
Common Problems
- The pellet stays soaked: drain the tray and improve air exchange.
- The surface dries quickly: check more often and add small amounts of water instead of flooding it.
- The seedling stretches: improve light after emergence.
- Roots appear through the wrapper: prepare the next container instead of delaying transplanting.
- The seed never emerges: review seed viability, depth, temperature, and moisture before changing several things at once.
Bottom Line
Peat pellets work well when you want a simple germination method that protects the young root during transplanting. Hydrate the pellet, plant shallowly, keep it damp but aerated, provide light after emergence, and move the whole plug before the seedling outgrows it.