
To use tissue culture techniques for cannabis propagation, you need clean donor material, sterile tools and vessels, prepared culture media, controlled growing conditions, and a patient workflow for moving plantlets back into normal growth. Tissue culture can be valuable for genetic preservation and clean propagation, but it rewards precision more than speed.
What Tissue Culture Does
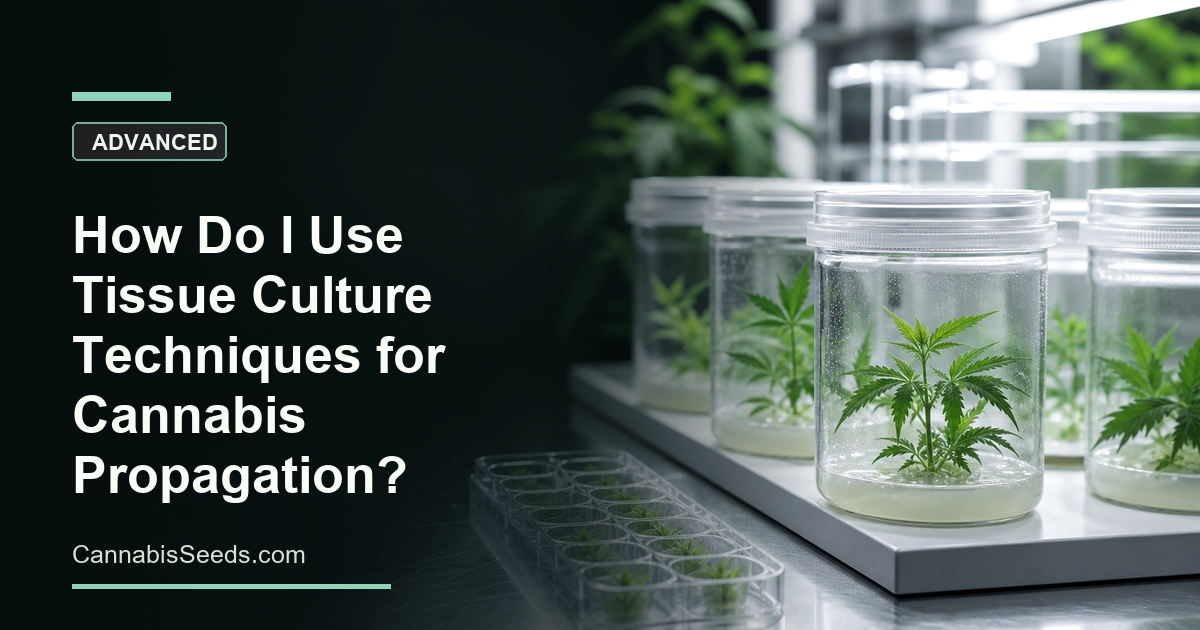
Tissue culture grows small pieces of plant tissue in sterile containers on nutrient media. In cannabis, growers may use it to preserve genetics, maintain clean stock, multiply selected lines, or reduce the space needed for traditional mother plants.
It isn’t just cloning with smaller cuttings. Standard cloning uses larger plant cuttings that root in plugs, water, or media. Tissue culture starts with much smaller plant material and depends on sterile technique, culture media, and careful stage management. If you’re still building propagation fundamentals, compare it with advanced cloning techniques for cannabis before setting up a culture workflow.
What You Need Before You Start
- A clean work area, still-air box, or laminar-flow-style setup.
- Sterile tools, sterile vessels, and prepared culture media.
- Healthy donor plants with known genetics.
- A repeatable explant-cleaning process.
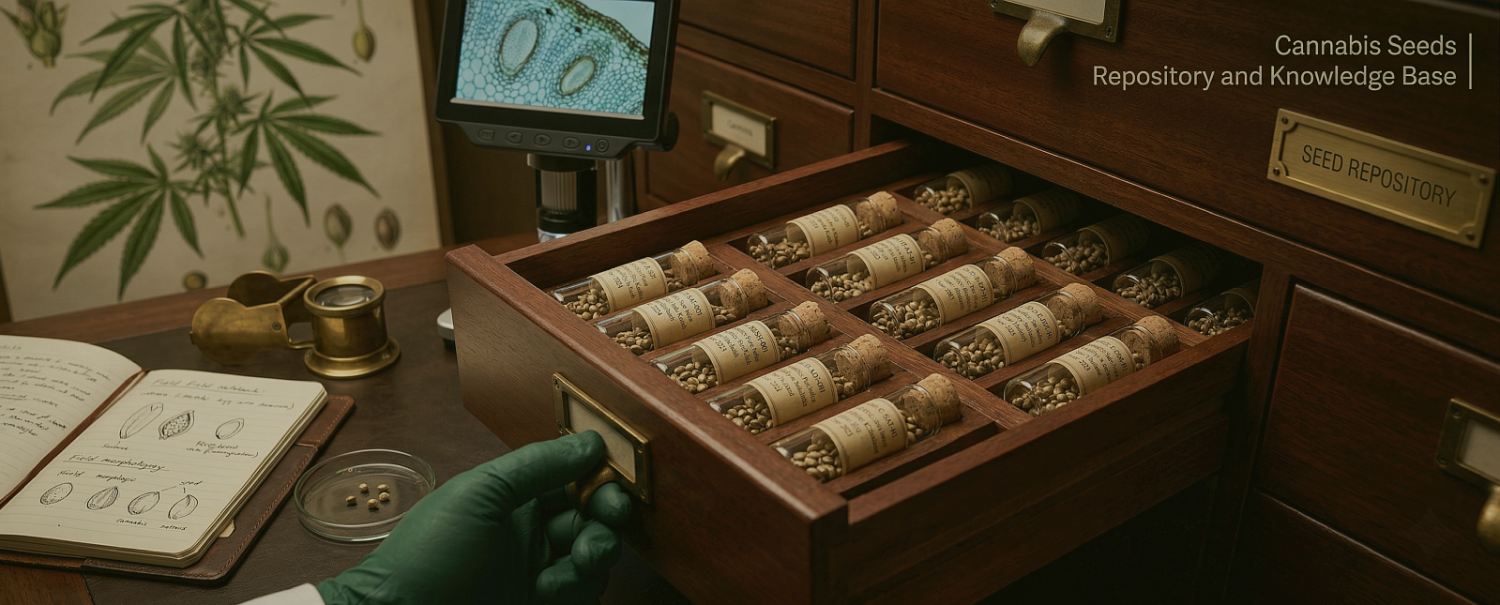
- Labels, dates, and notes for every culture.
Contamination is the main enemy. Bacteria and fungi grow quickly on nutrient media, so a culture can fail because of one dirty tool, one weak seal, or one piece of plant tissue that wasn’t cleaned well enough.
A Practical Tissue Culture Workflow
1. Choose the Donor Plant Carefully
Start with vigorous donor material from genetics worth preserving. Tissue culture can help maintain a line, but it can’t turn weak or poorly selected genetics into something better. If the culture work supports a breeding project, keep source records as carefully as you keep the cultures themselves.
2. Prepare the Explant
The explant is the small piece of plant tissue placed into culture. It has to be cleaned enough to reduce contamination while staying alive. That balance is the hard part: too little cleaning leaves microbes behind, while too much damages the tissue.
3. Establish Clean Cultures
Once the explant is placed into sterile media, watch it closely. Clean cultures can be maintained or multiplied, but contaminated vessels should be removed quickly. Don’t try to rescue every failed container in the same workspace where clean cultures are still open.
4. Multiply, Root, and Acclimate
After establishment, plantlets may move through multiplication and rooting stages before leaving culture. The transition back to normal growing conditions is delicate because plantlets from vessels aren’t used to ordinary airflow, humidity swings, or media. Think of acclimation as a more sensitive version of hardening off cannabis seedlings.
Where Tissue Culture Fits Best
Tissue culture makes the most sense when the genetics justify the extra control. It can support genetic backups, reduce the footprint of mother plants, and help serious growers organize clean propagation stock. For breeding work, it should sit beside selection, testing, and recordkeeping instead of replacing them.
If the goal is to keep a valuable plant available over time, compare this workflow with ordinary mother-plant management. Tissue culture may reduce space, but it adds a higher demand for process control.
Common Tissue Culture Problems
- Contamination from tools, air, vessels, or donor material.
- Damaged explants from harsh cleaning.
- Media that doesn’t match the culture stage.
- Weak plantlets that fail during acclimation.
- Poor labeling that breaks genetic tracking.
Use Tissue Culture When the Genetics Justify It
Tissue culture can be a strong propagation tool, but it isn’t a shortcut. Use it when clean stock, genetic preservation, or space-efficient backup plants are worth the sterile workflow. The more valuable the genetics, the more the extra precision starts to make sense.